The teacher is allowed to create any number of notebooks. A notebook is identified by name and is assigned to a specific course in a specific term. In the Teacher's Notebook, select the notebooks you want to work with or create a new notebook.
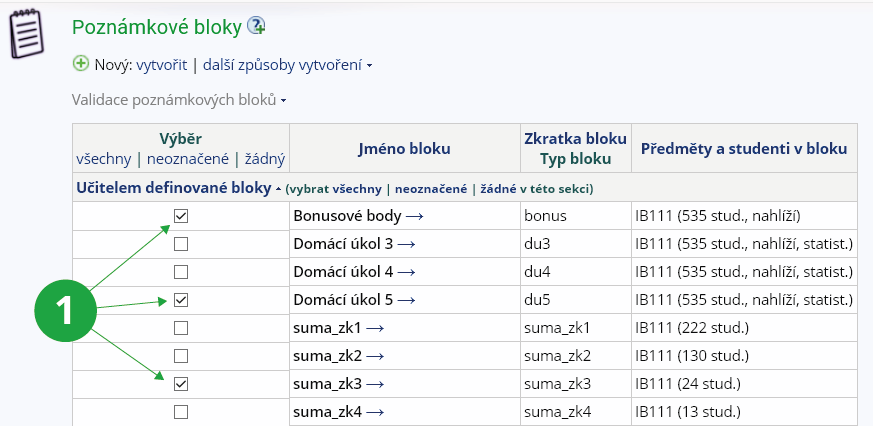
1 Select the notebooks you want to edit.
Take advantage of operations in
The Information system Teacher [course selection] Notebooks
New: create | create and pre-fill | create by copying | create with evaluation of another course | create by adding up scores stored in different notebooks
Edit settings: settings | add a student | remove a student | delete the notebook
Contents: edit | browse | add text | add asterisks
When creating, you need to specify
name of the notebook,
whether the student can view his/her record in the notebook,
whether the student can look at the overall statistics (in the form of rankings and point counts),
whether students should be added during validation
optionally, you can set the date and time from which students can view their notebook record and the statistics.
It is not recommended to set up notebooks in the first weeks of the semester (unless necessary) when the list of students in the course is not complete. Otherwise, it will be necessary to use validation afterwards (see also below,
on validation). You can create a notebook in multiple courses at the same time (enter the application with multiple courses selected at the same time).
When editing the content, you have a line containing the student's name, the programmes studied, how the course was completed, and the grade if already entered. If you have multiple courses or multiple notebooks selected at the same time, then the course code or notebook name will also appear. You can also edit the contents sent flag individually.
If you do not want to edit the notebook, but only view it, select Contents: browse.
You can also add text or asterisks to the notebook in bulk (the number behind the asterisk will then be treated as score).