Select "scannable test (multiple choice)" as the default mode. If this is not the first time you are creating a ROPOT description, but you have already scanned in the semester and want to use the same settings as in the previous ROPOT, you do not need to click the settings from the beginning. Select an existing ROPOT description from the "I want to select an existent ROPOT application whose information I want the new one to be filled with" menu. This will create a new ROPOT with the settings of the existing one, so it is necessary to enter a new name (e.g. new examination date). If you are creating a ROPOT for a handwritten test, set mode to "scannable handwritten text and scores". For a scannable handwritten test, give the name of the ROPOT (preferably with the examination date) and save. This type of test is covered in detail in the question Scanning of handwritten tests (i.e. free-form answers, not multiple choice). In case you are creating a scannable test for the first time, follow these steps: After selecting the ROPOT mode, a form with the settings for the ROPOT description is displayed. The ROPOT is automatically stored in the secure folder "testbank", which is by default inaccessible to students. We recommend not changing this location. Next, choose a name for the ROPOT, preferably with the date of the examination. Instructions do not need to be filled in.
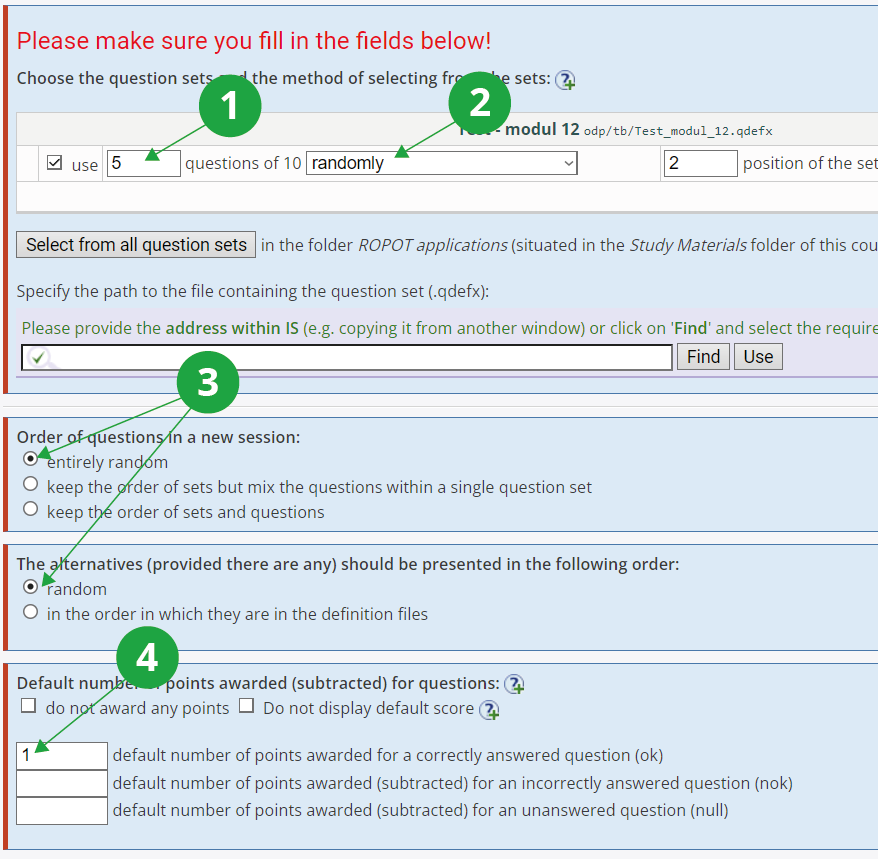
1 Search for the question set to be used and enter how many questions to select from that set. Check "use".
2 The way in which a specified number of questions are selected from a set. The setting is independent of the order of questions in a new session setting below.
3 Choose the order of the questions and alternatives (answers), most often leaving "random".
4 Determine default number of points awarded for each question. It is up to you whether you want to give only plus points for correct answers, or whether you want to penalise students for guessing the answer and substract points for wrong answers.
We recommend filling in the following fields as follows:
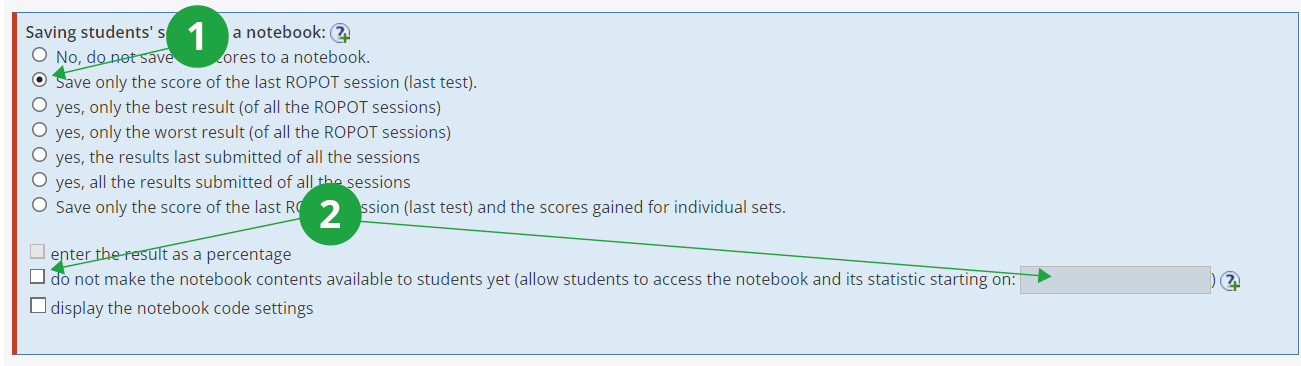
1 Save the results of to notebook.
2 Check if you do not want students to have the scores available immediately after the scanned tests have been evaluated. Alternatively, you can fill in the date from when the scores will be made public to students.

1 For scannable tests, it is typically not desirable to show students the correct answers in the browsing of answers.
2 The sessions for the scannable test are created by the teacher in a separate application, so the responding student does not need to launch a new ROPOT session.
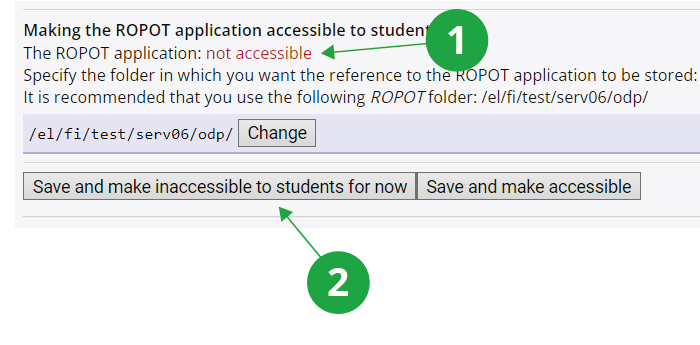
1 Typically, students do not have a ROPOT in the IS AMBIS accessible. You make this setting in at the bottom of "Making the ROPOT application accessible to students" when you save the ROPOT description.
2Save the ROPOT description by clicking "Save and make inaccessible" to students for now.